I’ve wanted to check out HTMX for a while and what better way than to just dive right in right? And yes, I know … not the most original but I will be building a ToDo application. This will be able to showcase a lot of the basic functionality of a CRUD application.
So what exactly is HTMX?
I won’t bore you with details like what it stands for so what is the purpose behind this project? Their goal seems to be just keeping it simple. Simple to where you can build dynamic, single-page applications without the need of any complex JavaScript frameworks. It’s doing this by integrating AJAX and a few other things like websockets within HTML through attributes which I found really impressive and the reason I wanted to check this out. The package is also extremely small so it’s definitely got a lot going for itself but how does it actually work in code?
Setup
The setup I have going here is pretty straight forward. We are using Drizzle ORM with a local SQLite database. If you want to learn more about Drizzle and how to set it up, check out my video on it here. For the schema, I set up a ToDos table which has 3 fields: an id, content and timestamp. The content is the actual text of the ToDo that we are looking to complete.
import { InferSelectModel, sql } from 'drizzle-orm';
import { sqliteTable, text, integer } from 'drizzle-orm/sqlite-core';

export const todos = sqliteTable('todos', {
  id: integer('id', { mode: 'number' }).primaryKey({ autoIncrement: true }),
  content: text('content', { length: 256 }).notNull(),
  timestamp: text('timestamp')
    .default(sql`CURRENT_TIMESTAMP`)
    .notNull(),
});

export type Todo = InferSelectModel<typeof todos>;
Next, I wrote a simple seed script that simply just adds 3 ToDos to the database for testing purposes.
import * as schema from './schema';
import { db } from '.';

(async () => {
  await db.insert(schema.todos).values([
    {
      content: 'Subscribe to CodeBrew',
    },
    {
      content: 'Like the video',
    },
    {
      content: 'Check out the other videos',
    },
  ]);

  console.log(`Seeding complete.`);
})();
For the API itself, I am using Hono with Bun which, for now, only has one GET route that returns some text.
import { Hono } from 'hono';

const app = new Hono();

app.get('/', (c) => {
  return c.text('Hello world!');
});

export default {
  port: process.env.PORT || 3000,
  fetch: app.fetch,
};
If you’re looking for the finished product, you can find the code repo here.
Base Structure
To get started with HTMX, we need to import it into our project along with Tailwind. In order to simplify things, I chose to go with importing them using the CDN option. This can be done through a Layout component which will be wrapping all of our pages.
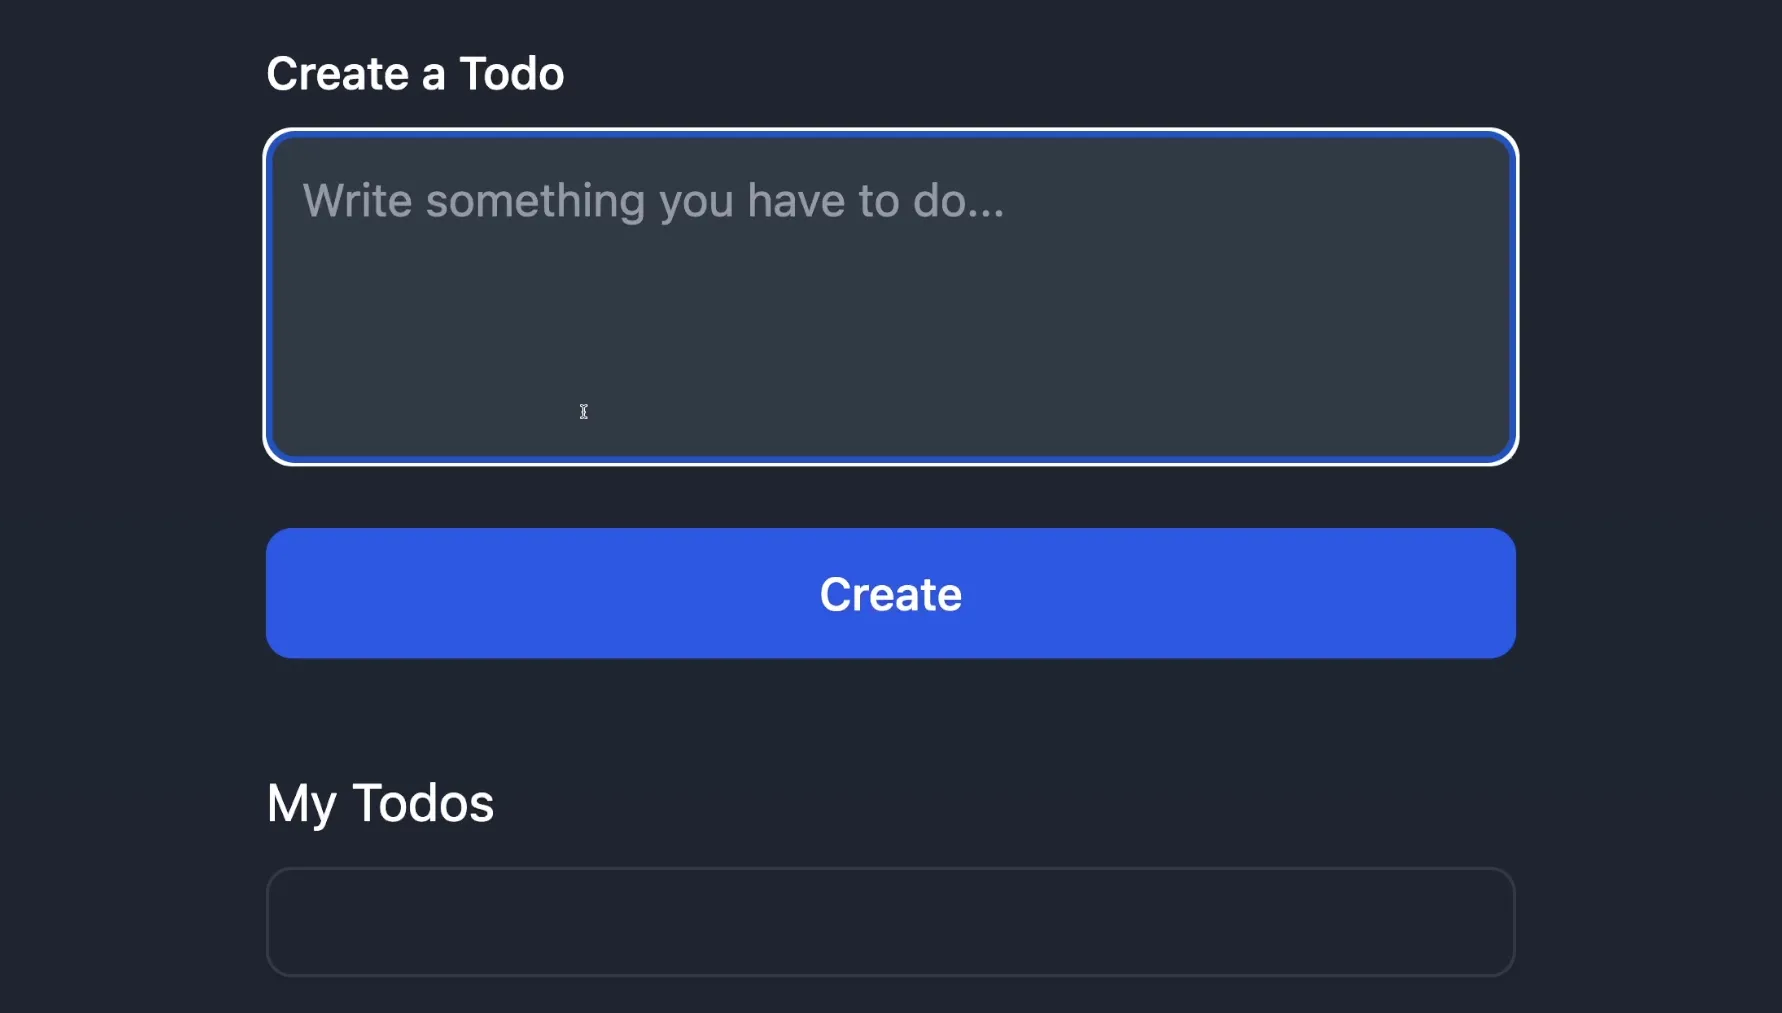
By the end of this section, our app should look something like this:
Before going any further though, I want to touch on the concept of components. Going forward, we will be using JSX in order to create our layout, pages, etc. which I will be calling components. This is because they are reusable chunks of code and not because we are using React.
export default function Layout({ children }: { children: JSX.Element }) {
  return (
    <html>
      <head>
        <script
          src="https://unpkg.com/[email protected]"
          integrity="sha384-D1Kt99CQMDuVetoL1lrYwg5t+9QdHe7NLX/SoJYkXDFfX37iInKRy5xLSi8nO7UC"
          crossorigin="anonymous"
        ></script>
        <script src="https://cdn.tailwindcss.com"></script>
      </head>
      <body class="bg-gray-800">{children}</body>
    </html>
  );
}
Inside of layouts/index.ts we can create the above Layout component and the goal here is to set our script tags which are importing the libraries we want to use. Our page content will go inside of the body tag. I’ve also given it a dark background colour.
Next, let’s create our home page. Inside of pages/Home.tsx we can create our Home component which will be the component we show whenever a user visits the / route.
import Layout from '../layouts';

export default function Home() {
  return (
    <Layout>
      <div class="mt-8 max-w-sm mx-auto">Hello World</div>
    </Layout>
  );
}
Now that we have our home page which is wrapped in the layout we created we can actually return the page. Hono supports returning HTML out of the box so all we have to do is update our / GET route to now return the new component.
app.get('/', (c) => {
  return c.html(<Home />);
});
Our home page should be showing with the text Hello World. The font should also be updated since Tailwind is now loaded into our project.
We can now take our Home page and add the missing pieces: creating a ToDo and listing all of our Todos. I will create all of the following components inside of a components folder:
Handling creating a new ToDo
export default function NewTodo() {
  return (
    <form>
      <label
        for="content"
        class="block mb-2 text-sm font-medium text-gray-900 dark:text-white"
      >
        Create a Todo
      </label>
      <textarea
        id="content"
        name="content"
        rows={4}
        placeholder="Write something you have to do..."
        class="block p-2.5 w-full text-sm text-gray-900 bg-gray-50 rounded-lg border border-gray-300 focus:ring-blue-500 focus:border-blue-500 dark:bg-gray-700 dark:border-gray-600 dark:placeholder-gray-400 dark:text-white dark:focus:ring-blue-500 dark:focus:border-blue-500 mb-5"
      />

      <button
        type="submit"
        class="text-white bg-blue-700 hover:bg-blue-800 focus:ring-4 focus:outline-none focus:ring-blue-300 font-medium rounded-lg text-sm w-full sm:w-auto px-5 py-2.5 text-center dark:bg-blue-600 dark:hover:bg-blue-700 dark:focus:ring-blue-800"
      >
        Create
      </button>
    </form>
  );
}
Handling displaying the content of one of the ToDos
import { Todo } from '../../db/schema';

export default function TodoItem({ id, content, timestamp }: Todo) {
  return (
    <li key={id} class="py-3 sm:py-4">
      <div class="flex items-center">
        <div class="flex-1 min-w-0 ms-4">
          <p class="text-sm font-medium text-gray-900 truncate dark:text-white">
            {content}
          </p>
          <p class="text-sm text-gray-500 truncate dark:text-gray-400">
            {timestamp}
          </p>
        </div>
        <div class="inline-flex items-center text-base font-semibold text-gray-900 dark:text-white">
          <button>x</button>
        </div>
      </div>
    </li>
  );
}
Handling displaying all of the ToDos
export default function TodoList() {
  return (
    <div class="mt-8 w-full max-w-m dark:text-white">
      <h1>My Todos</h1>
      <div class="mt-2 p-4 bg-white border border-gray-200 rounded-lg shadow sm:p-8 dark:bg-gray-800 dark:border-gray-700">
        <div class="flow-root">
          <ul
            id="todo-list"
            role="list"
            class="divide-y divide-gray-200 dark:divide-gray-700"
          ></ul>
        </div>
      </div>
    </div>
  );
}
Combining it all
Putting it all together, our Home page will now return the NewTodo and TodoList components:
return (
  <Layout>
    <div class="mt-8 max-w-sm mx-auto">
      <NewTodo />
      <TodoList />
    </div>
  </Layout>
);
HTMX
Now that we have the base of our project figured out we can finally focus on HTMX and how it is going to interact with our back-end. I want to start by creating the endpoints that we will be using.
The way to think about endpoints has to shift a little bit if you are used to regular REST endpoints. You would normally return JSON but with HTMX, the goal is to return HTML chunks instead. The best way to visualise it is the endpoint for returning our list of ToDos:
app.get('/api/todos', async (c) => {
  const results = await db.select().from(todos);

  return c.html(
    <>
      {results.map((todo) => (
        <TodoItem {...todo} />
      ))}
    </>
  );
});
Here, you will notice that once we get our list from the database, we simply just run through the list and convert each record to its HTML equivalent using the TodoItem component. The goal here is so when the front-end receives the HTML from the GET request, it will simply swap out the content that is inside of the TodoList component.
app.post('/api/todo', async (c) => {
  const { content } = await c.req.json();

  const results = await db.insert(todos).values({ content }).returning();
  if (!results || results.length < 1) {
    return c.html(<></>);
  }

  return c.html(<TodoItem {...results[0]} />);
});
The POST request to create a ToDo does something very similar. We have our database logic for actually inserting the record but after that we simply just return the HTML for the newly created item.
app.delete('/api/todo', async (c) => {
  const { todoId } = await c.req.json();

  await db.delete(todos).where(eq(todos.id, todoId));

  return c.body('✔', 200, {
    'HX-Trigger': 'todo-delete',
  });
});
The DELETE request is a bit trickier. Here, I am returning a checkmark ✔ as just a placeholder. We will look at why this won’t be seen on the UI in a little bit but the thing I want to focus on is the [HX-Trigger](https://htmx.org/headers/hx-trigger/) response header that we are returning. This is a powerful tool that HTMX provides in order to be able to do any sort of side effect logic. In our case, we want whenever we delete a ToDo to do another request to fetch the ToDos list.
How do we populate the ToDos list?
The easy answer would be to just return the list already populated from the back-end inside of the Home component but my goal here is to show how to do a GET request with HTMX and how to set triggers. Inside of the TodoList component we can update our unordered list to the following:
<ul
  hx-get="/api/todos"
  hx-trigger="load, todo-delete from:body"
  id="todo-list"
  role="list"
  class="divide-y divide-gray-200 dark:divide-gray-700"
></ul>
hx-get is pretty self explanatory as this is the route we want to do a GET request to.
hx-trigger is where we set our triggers and in our case we have 2:
load— our request is triggered whenever we load the pagetodo-delete from:body— our request is triggered whenever we receive todo-delete as part of a HX-Trigger response header from another request on our page
It was that simple! Now our list of ToDos should be getting populated whenever we go to our application.
How do we create a ToDo?
In order to handle creating a ToDo, it is just as simple. Updating the form tag inside of the NewTodo component, we can do the following:
<form
  hx-post="/api/todo"
  hx-target="#todo-list"
  hx-swap="beforeend"
  hx-ext="json-enc"
>
hx-post is doing a POST request to our route.
hx-target is where we want the response we receive to go. If you look at our unordered list from above it has the id of todo-list which we can use here.
hx-swap is how we want the content to be inserted. You can read more about all the methods here but in our case, all we want is to just add it at the end of the existing list.
hx-ext is an HTMX extension which allows us to send JSON to our route. By default, the parameters sent in the request are not encoded as JSON and this is where json-enc comes into play. To get this to work we have to add the following script to our Layout component:
<script src="https://unpkg.com/htmx.org/dist/ext/json-enc.js"></script>With the above change, we are now able to create ToDos!
How do we delete a ToDo?
All that is left to do is being able to delete. Since this is a change that affects individual ToDos, we will have to change logic in our TodoItem component. The first thing we need to do is give our list item a unique ID so we can target it:
<li key="{id}" id="{`todo-${id}`}" class="py-3 sm:py-4"></li>With the above in place, all we have left to do is change the logic for the x button:
<button
  name="todoId"
  value={id}
  hx-delete="/api/todo"
  hx-swap="delete"
  hx-target={`#todo-${id}`}
  hx-ext="json-enc"
  hx-trigger="click"
>
  x
</button>
name is the name of the field the back-end receives.
value is the value of the field the back-end receives.
hx-delete is doing a DELETE request to our route.
hx-swap is deleting the item regardless of the response we receive. This is simply just for a smoother user experience. I simply wanted to throw this in here since I found it really cool.
hx-target is targeting this specific ToDo and we can do this using the ID we created in the step above.
hx-ext is using the same JSON encode since we are sending our payload containing the todoId.
hx-trigger is pretty straight forward. We send our request when the user clicks on the button.
Conclusion
Aaaaand that’s it! We achieved a somewhat functional and reactive Todo app through the magic of HTML in 2024? This was a really fun project to build and I loved the speed at which I could get things done so props on that to the HTMX team.
If you found this useful, check out my other articles and my YouTube Channel where I cover a lot of the same topics but in video format.