Let’s say you just built a small REST API using Bun. After testing it thoroughly, the next step is making it available to the public. But how do you do that? There are a lot of deployment options out there where as long as you have a Dockerfile you can be up and running pretty fast but what I want to focus on in the article is starting from a place where maybe this is your first time deploying an app. I want this to be as easy and straightforward as possible, which is why we’re checking out two very promising new projects: Fly.io and Railway.
For this deployment, I will be using a lot of the code that we wrote in this article. This is a small blogging API that has endpoints for Posts and Users. The only difference is I will be switching out Prisma for Drizzle ORM as there are some issues with Bun and Prisma at the time of writing this.
Before we touch on each platform, one step we need to ensure we do is generating the migrations for our project. When we run migrations on production, we want to have them already generated. To do this, we simply just run bun run generate in our local environment to generate the drizzle folder. If this is your first time dealing with migrations using Drizzle, check out the video I made on the ORM here.
Fly.io
After creating an account on their platform and signing up for the Hobby plan, we should now have access to the functionality of their CLI. The cool thing about this is that with one simple command it will generate a Dockerfile for us.
To install the CLI, we just have to run the following command:
brew install flyctlNow that the CLI is installed, we can run the next command which will set up our applications on their platform. It should also be able to detect that our project will need a Postgres database. Once the launch finishes we should be able to see our newly created apps in the dashboard and if you look at the project, it should have generated a Dockerfile and a fly.toml file.
fly launchAs you can see from the output of the previous command, all we have left to do now is run the deploy command. Before we do that though, we have to make one small change to the fly.toml file. In here, we need to add a deploy release command configuration so that our database migrations are run with every deploy. This will simply just run bun run migrate which runs our drizzle migrate script (this applies the migrations to the database).
[deploy]
  release_command = "bun run migrate"
Once this is in place, we are ready to run the deploy command:
fly deployThis might take a while to build and deploy but once it finishes, we can check our dashboard monitoring page which will show that our migrations have run and that the system is now running. We can also test this by going to the URL provided for where our app is hosted and going to /swagger which will bring up the interface for our API. Here we can do things like fetch all posts, create a user, create a post, fetch the post we created.
That is all for Fly.io! Obviously there are a lot of other things we can do/settings we can tweak but this achieves the goal of getting our API out there. This was really easy and I love how it’s able to generate a Dockerfile for us. If you don’t have much Docker experience this can be both great and awful. Great since it does it for you but awful since if anything goes wrong, you will have to be able to go in and make changes to it.
Railway
Again, we start off by making an account. What I like about Railway is that as long as they don’t deem your GitHub account as a potential threat (account being too new or other reasons) they give you a starting credit which is great for trying it out.
Here, we could simply just re-use the Dockerfile that Fly.io generated for us in order to deploy since it also supports it but that would be too boring. I want to show a couple easier ways, ones that won’t require you to install the fly cli.
Manual setup
Let’s start with creating a project from scratch. This will use the same project that we used above but I will just delete the Dockerfile and the fly.toml file that were generated. Before we push this to our repo, let’s also create a file for the deployment called nixpacks.toml in the root of the project. In here, since Bun is a bit finicky with nixpacks, we have to force use the latest version of Bun that it supports. At the time of writing this, it is version 1.0.18. We also have to provide it with a start command which, similarly to the fly.toml setup, will run the migrations and start the server.
[phases.setup]
  # uses bun 1.0.18
  nixpkgsArchive = '9c69bc8cae2f3b38536a50801961e2e62da13595'

[start]
  cmd = "bun run migrate && bun run start"
Once we have these changes, we can push them to our GitHub repository and begin creating our project. We can do this by selecting the New Project button on the dashboard and then selecting Empty project.
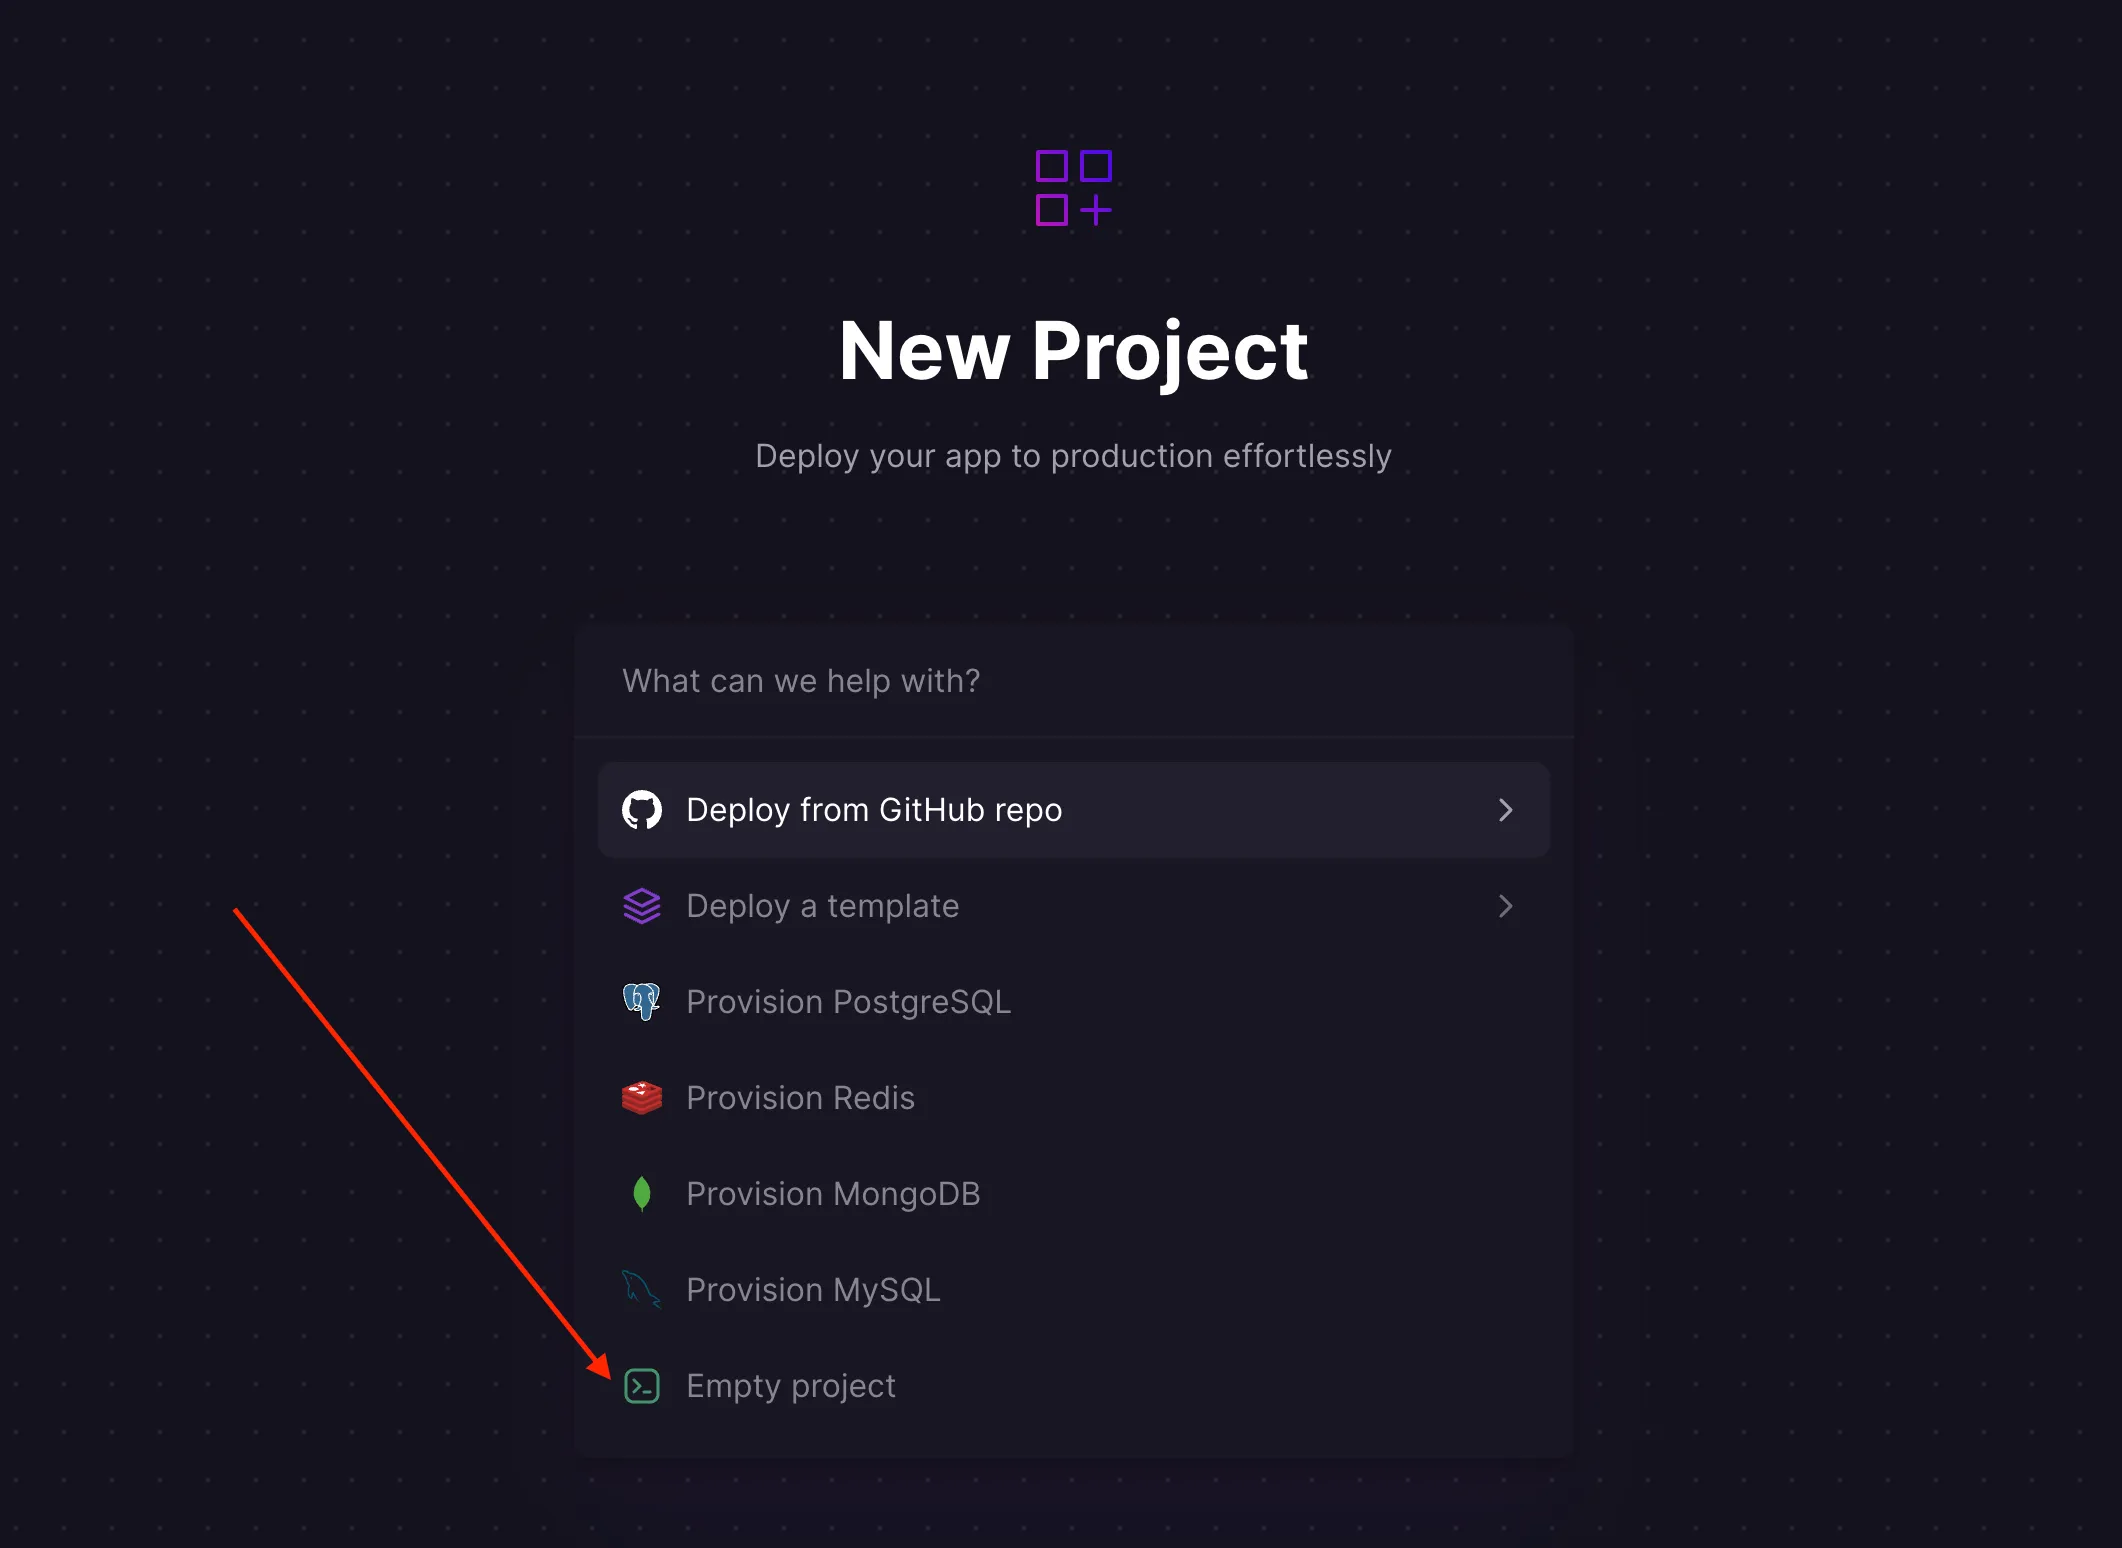
Now that we have a project created, we can spin up a database by clicking the Add a service button.
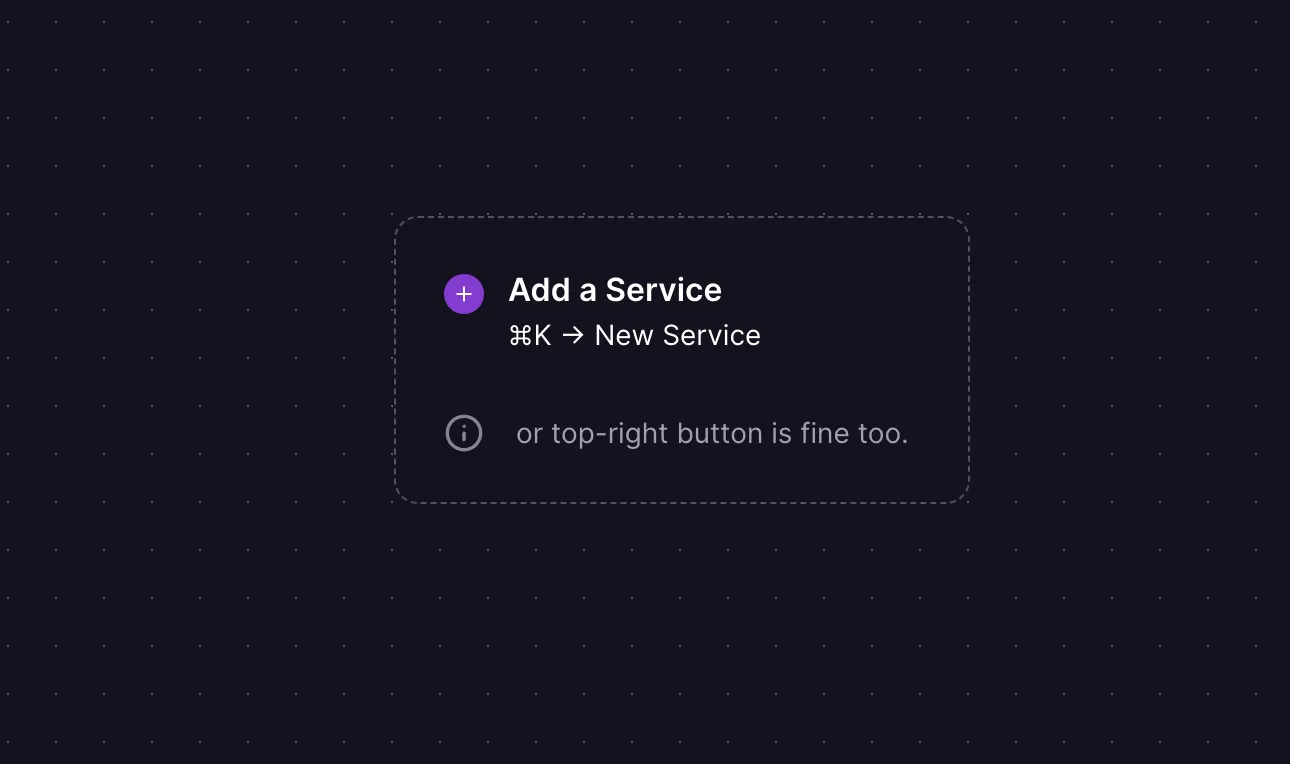
Here, we can select Database and we will add a PostgreSQL database. This might take some time but once the database is up and running, we can create our server. We can do this by adding another service for our GitHub repo. As seen in the screenshot above, we can either press cmd+K or clicking the top-right New button. This time we will select Deploy from GitHub repo and select our repo. In my case, the repo is simply just called bun-elysia-drizzle but if you don’t have a repo, check out the template I created for a similar project here. Once cloned, you will have to add your schema, endpoints and generate the migrations.
Before we trigger a deploy, we have to set the database URL env variable by doing a variable reference. We do this by clicking on our server service and going to the Variables tab. Here, we should be able to just see the Variable Reference link.

Clicking on this will open up the references dropdown and we just have to select DATABASE_URL which will auto populate the value field with something like ${{Postgres.DATABASE_URL}}.
One last thing we should do is under the Networking tab, clicking Generate domain which will provide us with an URL to be able to hit our API.
Once we have our variable set and the URL generated, we can finally click the big Deploy button at the top of the page. This can take a while but once it finishes, we should be up and running.
How do we speed this entire process up though? If you used my GitHub repo template to create the above project, there’s an even easier way: using a template.
Template
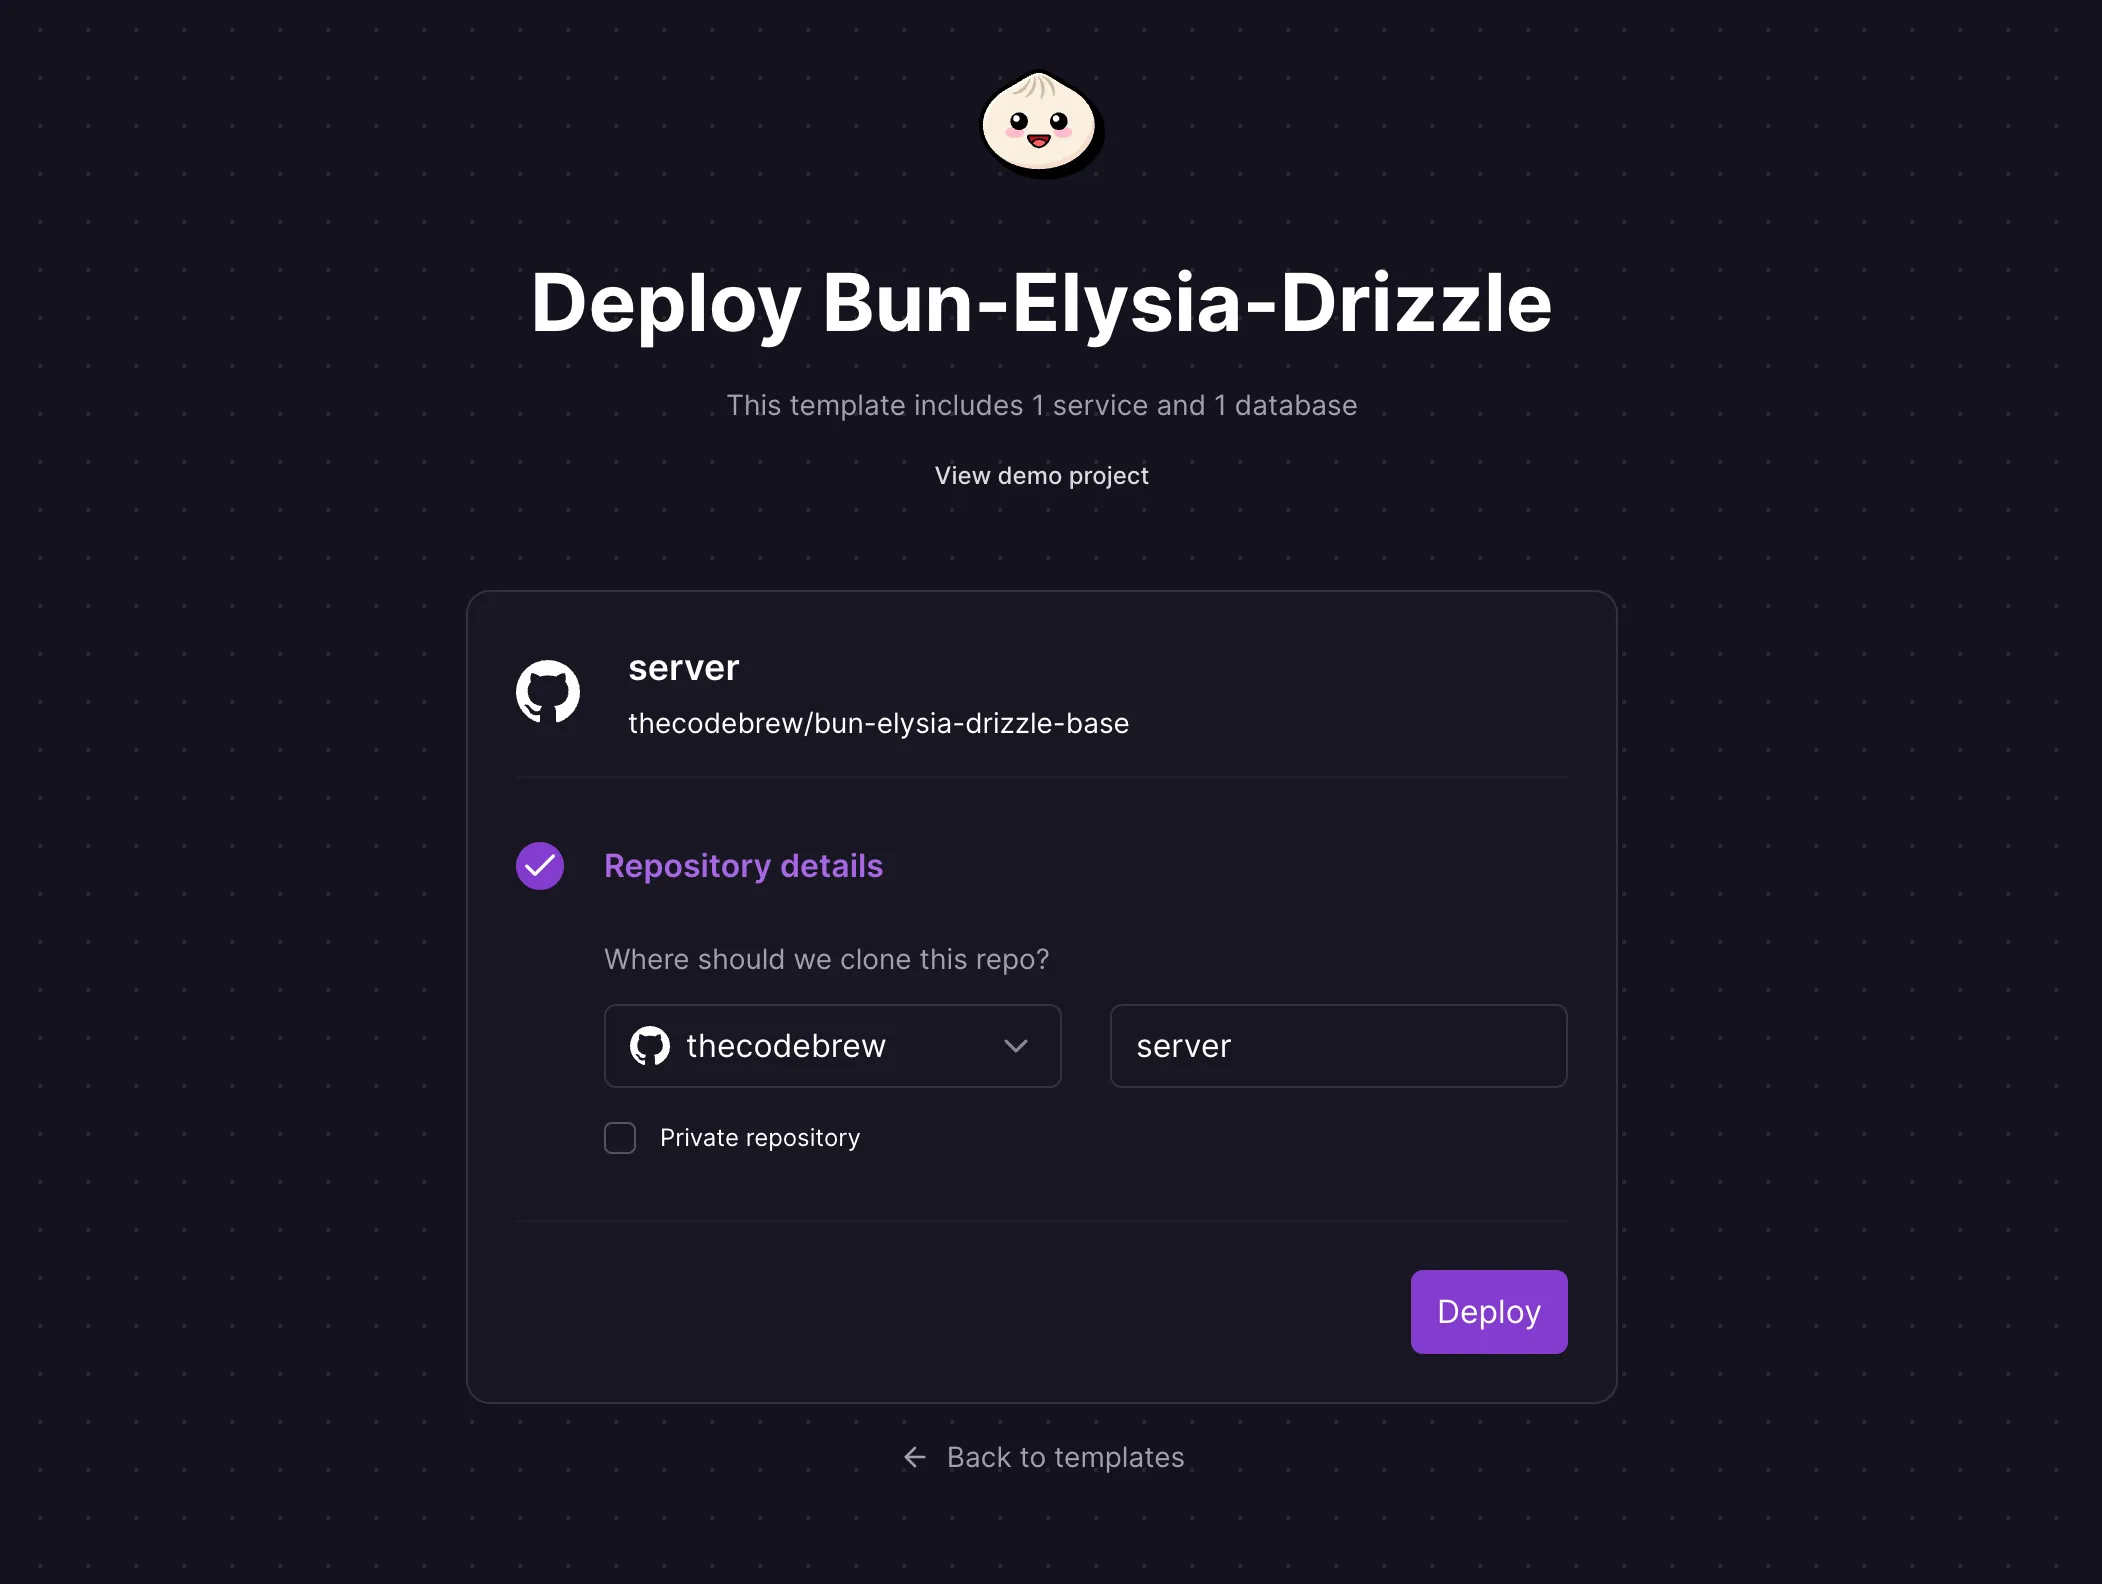
Going back to New Project, this is where a template comes in handy. I’ve created a simple template on Railway that will set up the database for you and clone the base template repo which is a Bun, Elysia and Drizzle project. You can go directly to my Railway template or search for it when creating a new project. This will speed things up a lot and have you up and running within minutes.
Once you select to use the template, it will just ask you for the name you want the repo to have and whether it should be private or not on your account.
The deploy part will take some time since it’s creating the database and spinning up the server but the template should take care of most of the setup. You will quickly notice though, that the deploy failed. This is because of the migrations step since the template doesn’t have a schema or any migrations. To fix this, I simply just cloned the repo that was created, copied and pasted the schema and routes in here from the original project. I also had to generate the migrations. Once that’s all in place, pushing to the repo will automatically trigger a deploy and that should be all needed. The Swagger page should also be available.
Final thoughts
Overall, I prefer using Railway simply because I find the developer experience to be super simple in terms of creating the different services and linking all of them together. This is all personal preference though, as Fly.io does some really impressive stuff and the cost of these services will ultimately come down to what you’re looking to achieve. I encourage you to check both of them out and see for yourself which one you prefer. I tried looking for services that made deploying a Bun application as straightforward as possible.
If you found this useful, check out my other articles and my YouTube Channel where I cover a lot of the same topics but in video format.